Lots to do including basic deep locker cleaning never done in decades....
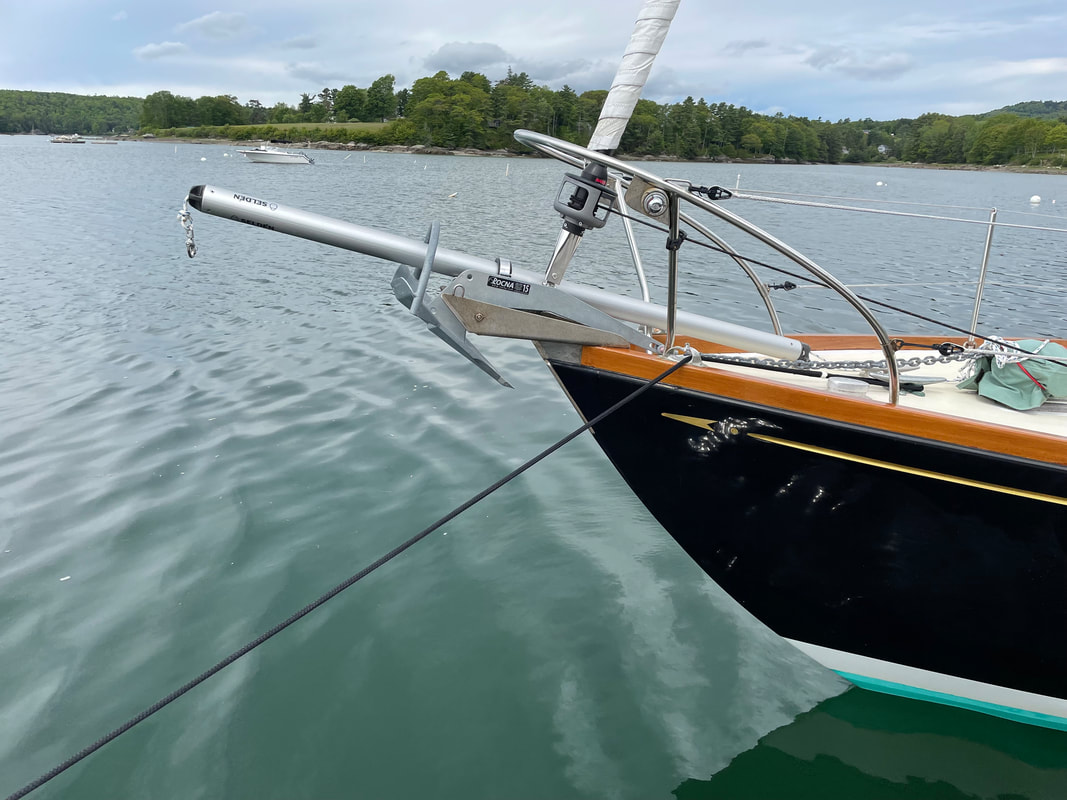
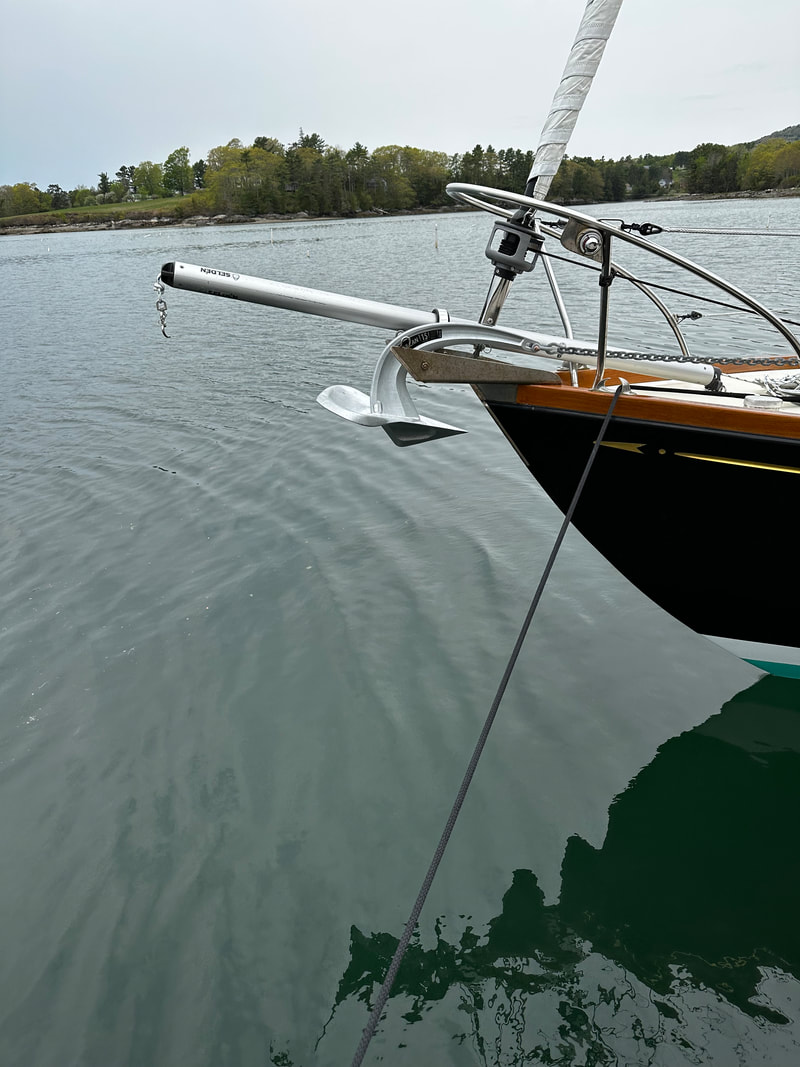
Started in the fall of 2017 - replacing the original CQR anchor.....
Click on some photos to make larger.
Started in the fall of 2017 - replacing the original CQR anchor.....
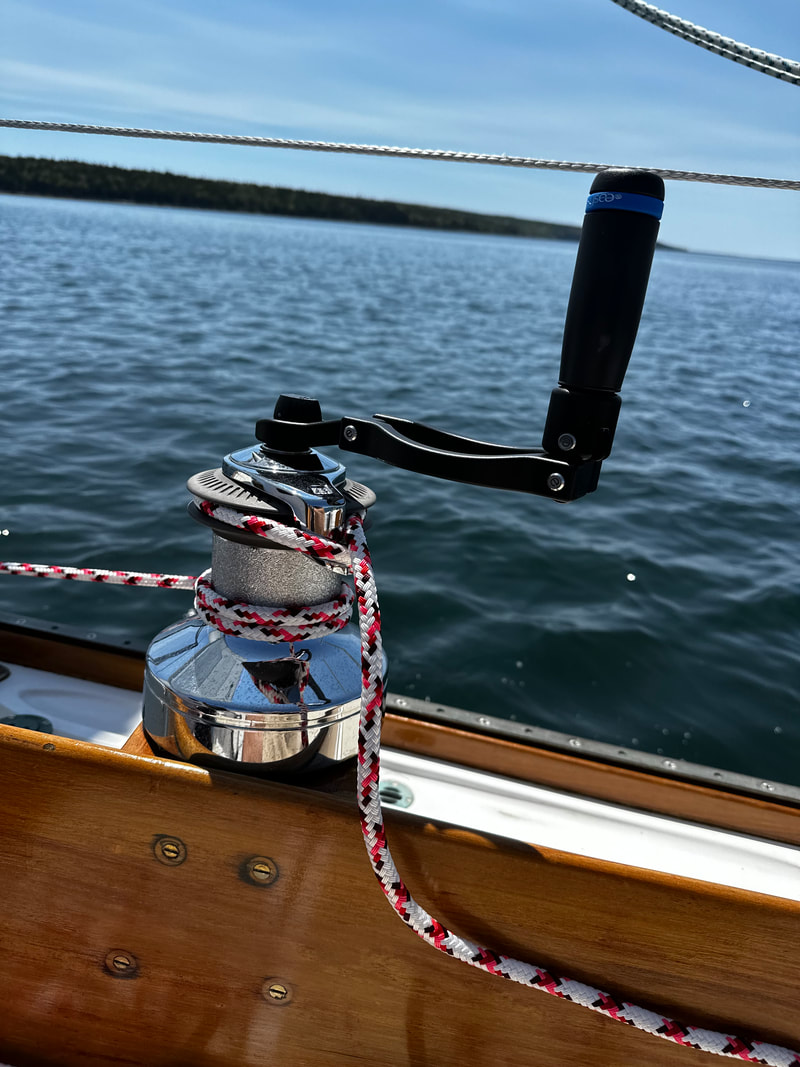
Click on some photos to make larger.
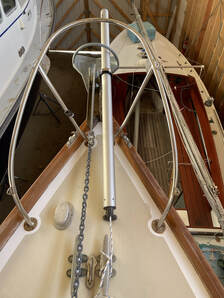
2017 Purchase UpgradesAnchor - Replaced the original CQR for a Rocna
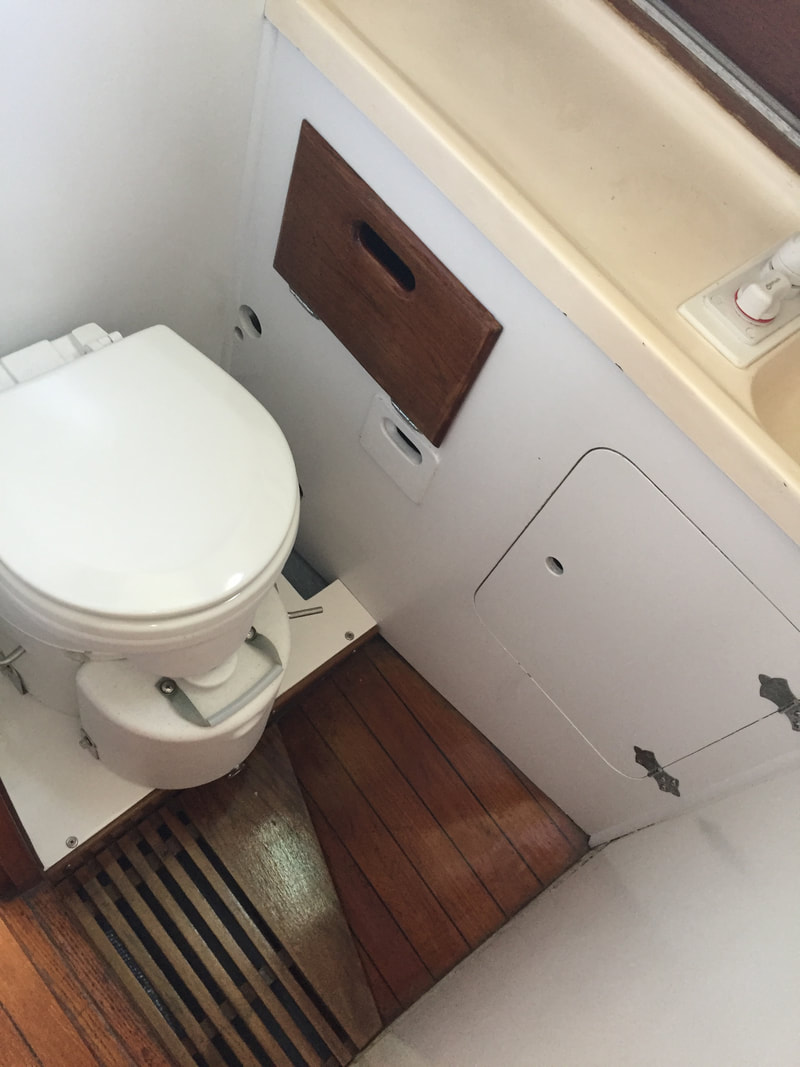
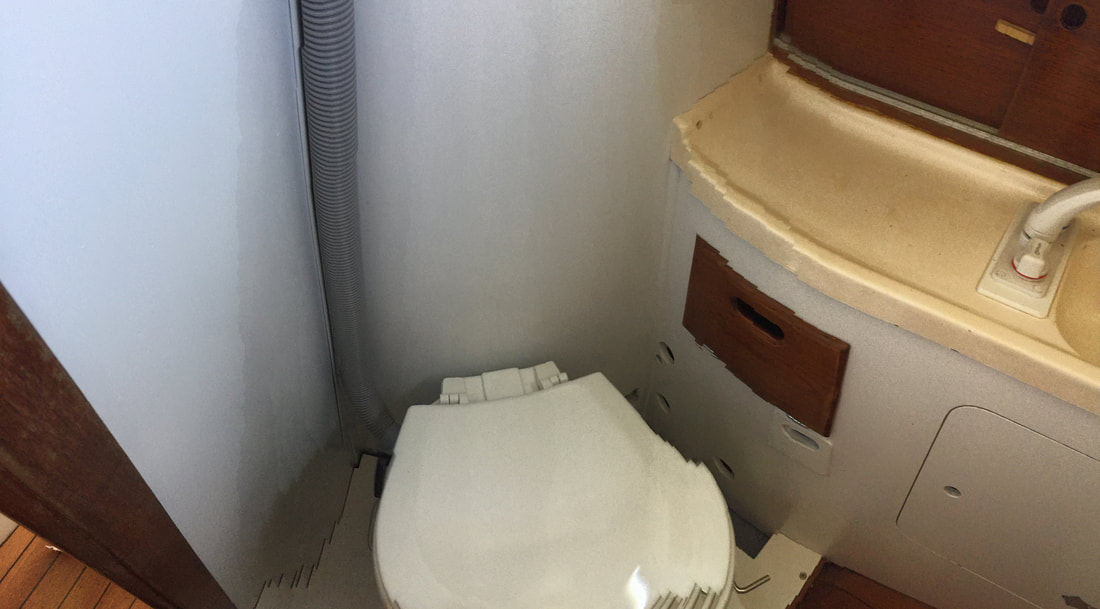
Cockpit Teak Grating - Removed it!
The cockpit had a substantial two piece floor over an awlgripped surface that blocked both aft corner drains (total of 4) and trapped debris with there grit degrading the nonskid awlgripped surface below it. 2019 Season Upgrades
2020 Season Upgrades
2021 Season Upgrades
|
2018 Season Upgrades
2022 Season Upgrades
2023 Season Upgrades
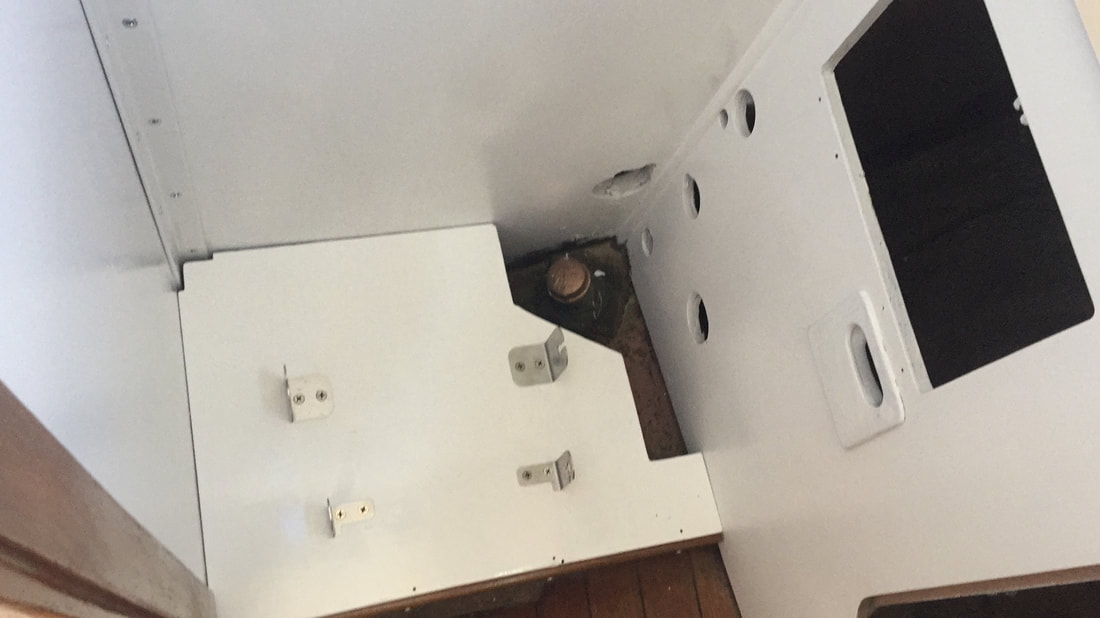
2024 Season Upgrades 1. New electric bilge pump
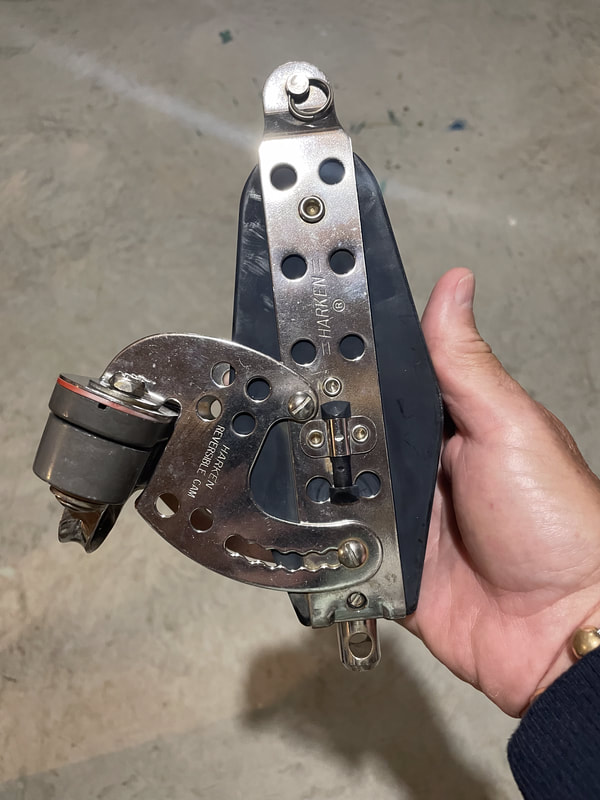
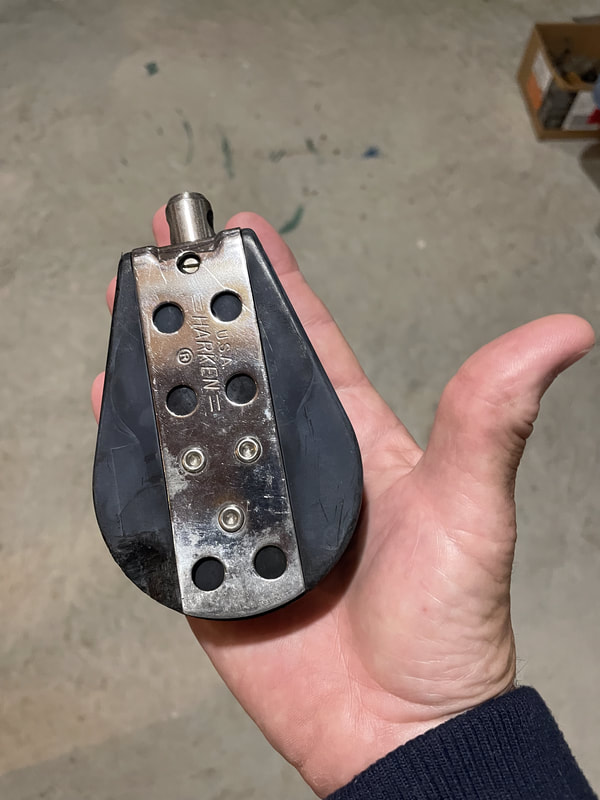
2. Replace all cockpit drain hoses - especially the one below with multiple appendages - all connected for discharge below the waterline! a. Cockpit drain b. Manual Bilge Pump c. Electric Bilge Pump 3. Remove/glass over four thru hulls below the waterline. Redirect to two (2) new thru hulls above waterline 4. Strip and varnish main winch bases and revarnish all other wood 5. Prep and glass two prior repairs on the foredeck and cockpit sole from 2021 6. Sand bottom and paint 7. Clean engine compartment and paint hull area gray 9. Add gray water tank with pump and float switch for sink drain water 10. Replace sink drain 11. New seawater strainer 12. Replace Harken traveler car with Harken Mid-Range Traveler Car - centralizing main with traveler sheeting 13. New dodger - smaller and only over companionway 
|